Import Model: Add a VRM character to AniMate
Before you start, prepare a local `.vrm` character model and, optionally, a thumbnail image that helps you recognize the avatar later. If you want to turn your own character into a VRM desktop pet or anime desktop companion, this tutorial walks through the basic import flow. If you do not have a model yet, read "Free VRM models for AniMate" first, then come back here.
Before You Start
You need a local `.vrm` model file. It can come from VRoid Hub, BOOTH, an official model page, a creator page, or your own VRoid export. Before importing, check the source and usage terms so you know how the model can be used.
- The file is `.vrm`, not a `.pmx`, `.fbx`, `.blend`, Unity package, or texture-only folder.
- The model source is clear, preferably from the original creator, an official page, or a trusted marketplace.
- If you plan to record, stream, or publish screenshots, check the model license first.
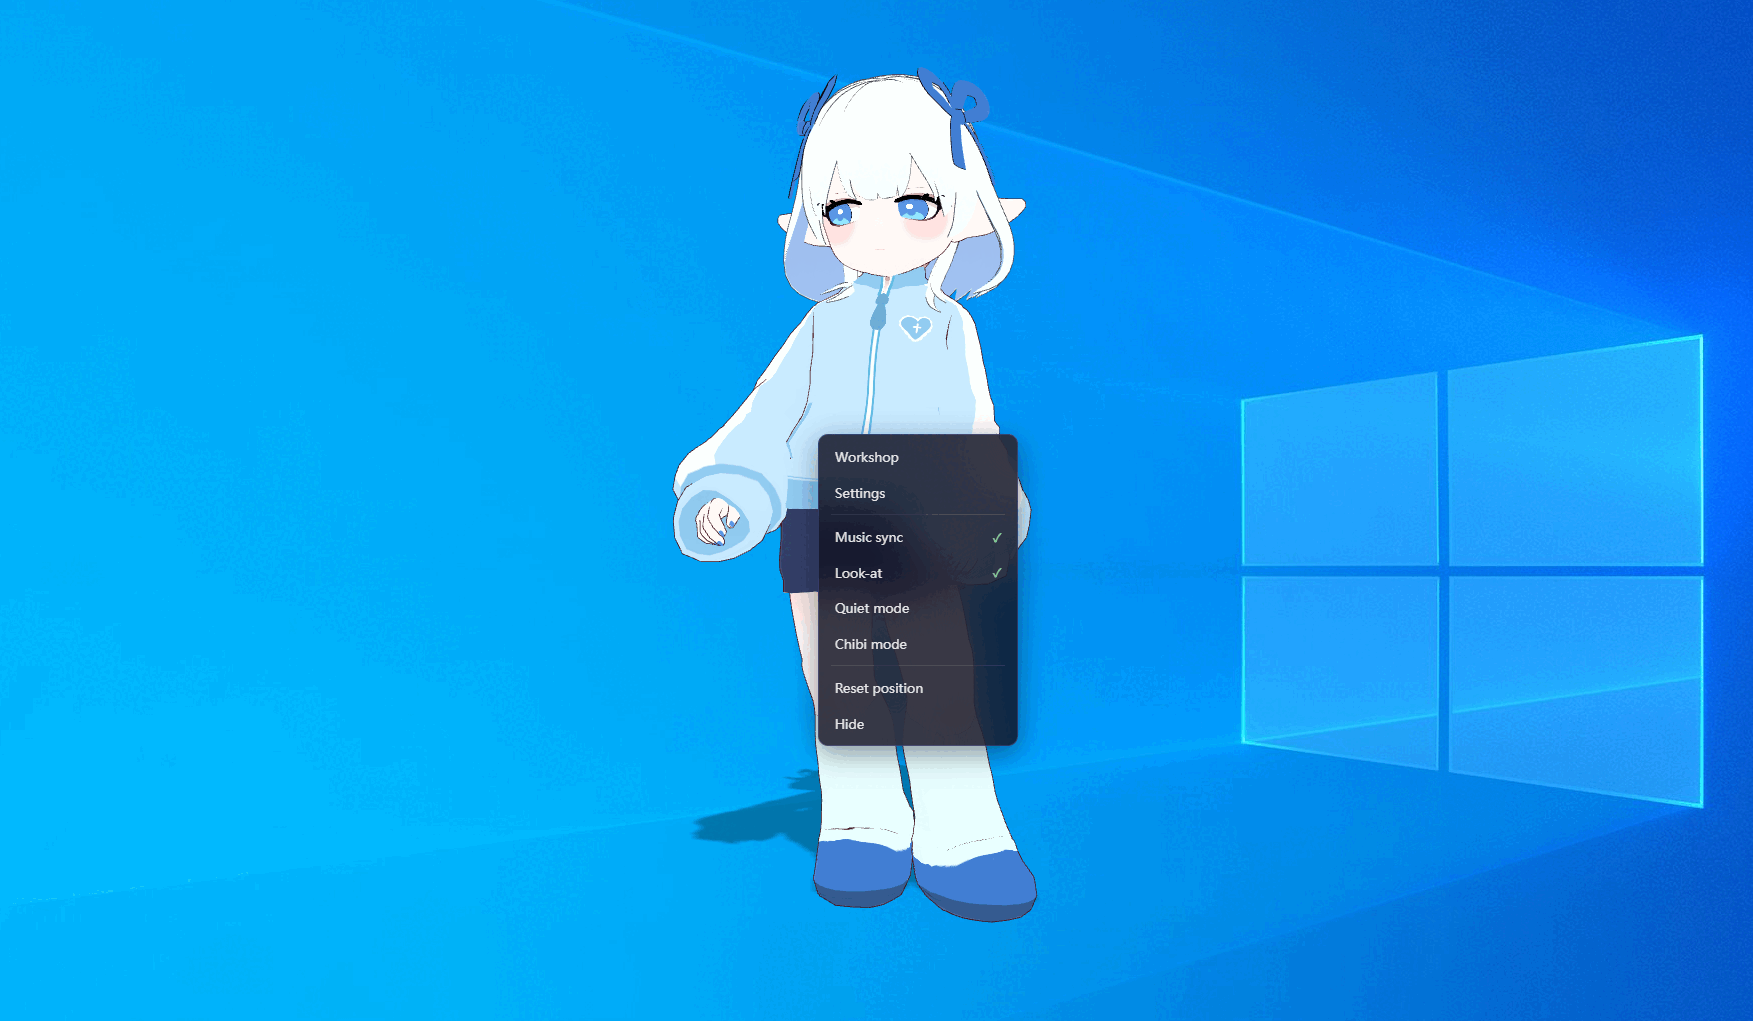
Step 1: Right-click the avatar and open Workshop
Find the running AniMate character on your desktop. Right-click the avatar, then click "Avatar Workshop" in the menu. Workshop is where you manage models, dances, stages, and desktop display settings.
Step 2: Click "Add character" in the lower-left corner
Inside Avatar Workshop, look at the action area in the lower-left corner and click "Add character". This opens the character import dialog.
Step 3: Choose the VRM file
In the Add character dialog, click "Choose VRM" and select the `.vrm` model file from your local folder. AniMate will read the model file and prepare it for import.
Step 4: Fill in the display name
In the same Add character dialog, find the "Display Name" field and give the model a name you can recognize. This name appears on the avatar card in Workshop, so clear naming becomes important once your model library grows.
If you plan to import multiple versions of the same character, include the outfit, source, or use case in the name, such as "Ava - Casual", "Ava - Dance", or "OC - Lightweight".
Step 5: Choose a thumbnail
Still in the Add character dialog, choose an optional thumbnail image. A thumbnail helps you quickly identify the model in the management view. You can use a character portrait, a half-body image, or a screenshot after import.
Step 6: Add tags
In the "Tags" area, choose existing tags or type a new tag and press Enter to confirm it. Tags help you manage many avatars, so it is worth setting a simple rule from the beginning.
| Tag type | Examples | When it helps |
|---|---|---|
| Source | VRoid, BOOTH, official, creator | When you want to filter by where the model came from |
| Use case | Desktop, dance, recording, test | When one character has multiple versions or purposes |
| Status | Ready, check later, heavy, favorite | When you have many VRM models to manage |
Step 7: Import the character
Check the VRM file, display name, thumbnail, and tags. When everything looks right, click "Import". After a successful import, the avatar appears in your Avatar Workshop library.
Step 8: Set the avatar to desktop
Return to Avatar Workshop and select the avatar you just imported. Look at the lower-right corner of the interface and use the desktop action button. After the character has been set to the desktop, this area shows "Active". Your character then appears on the Windows desktop, where you can move, scale, interact with it, and later pair it with dances or stages.
After Importing, Check These First
- The character appears normally on the desktop.
- The scale and placement fit your desktop layout.
- Mouse interaction or tracking feels comfortable.
- The model is not too heavy for everyday desktop use.
- The thumbnail and tags make the avatar easy to find later.
FAQ
Do I have to fill in a name and thumbnail?
Not strictly, but it is strongly recommended. A few models are easy to remember by file name. Dozens or hundreds of models are much easier to manage with names, thumbnails, and tags.
Can a desktop pet import VRM models?
Yes. AniMate can import `.vrm` character models into AniMate Workshop and set them as VRM desktop pets. Check the file format and model license before recording, streaming, or publishing screenshots.
How do I edit the name or thumbnail later?
In AniMate Workshop, right-click the avatar card and open edit. You can update the name, thumbnail, and tags there. Confirm the edit when you are done so the library card updates.
Why did my tag not apply?
After typing a new tag, press Enter so it becomes a separate tag chip. Then click Import.
Why does the avatar not appear on the desktop?
First confirm that you used the lower-right desktop action button in Workshop. When the character is already on the desktop, that area shows "Active". If it still does not appear, check whether the avatar imported successfully and whether the file is a valid `.vrm` model.
Next: organize your avatar library
If you plan to import many models, the next tutorial should focus on names, thumbnails, tags, and card editing before your library grows messy.