Getting started with AniMate
You do not need to prepare a 3D model before trying AniMate. Start with the built-in characters, make sure the desktop companion experience feels right, then import your own VRM avatar when you are ready.
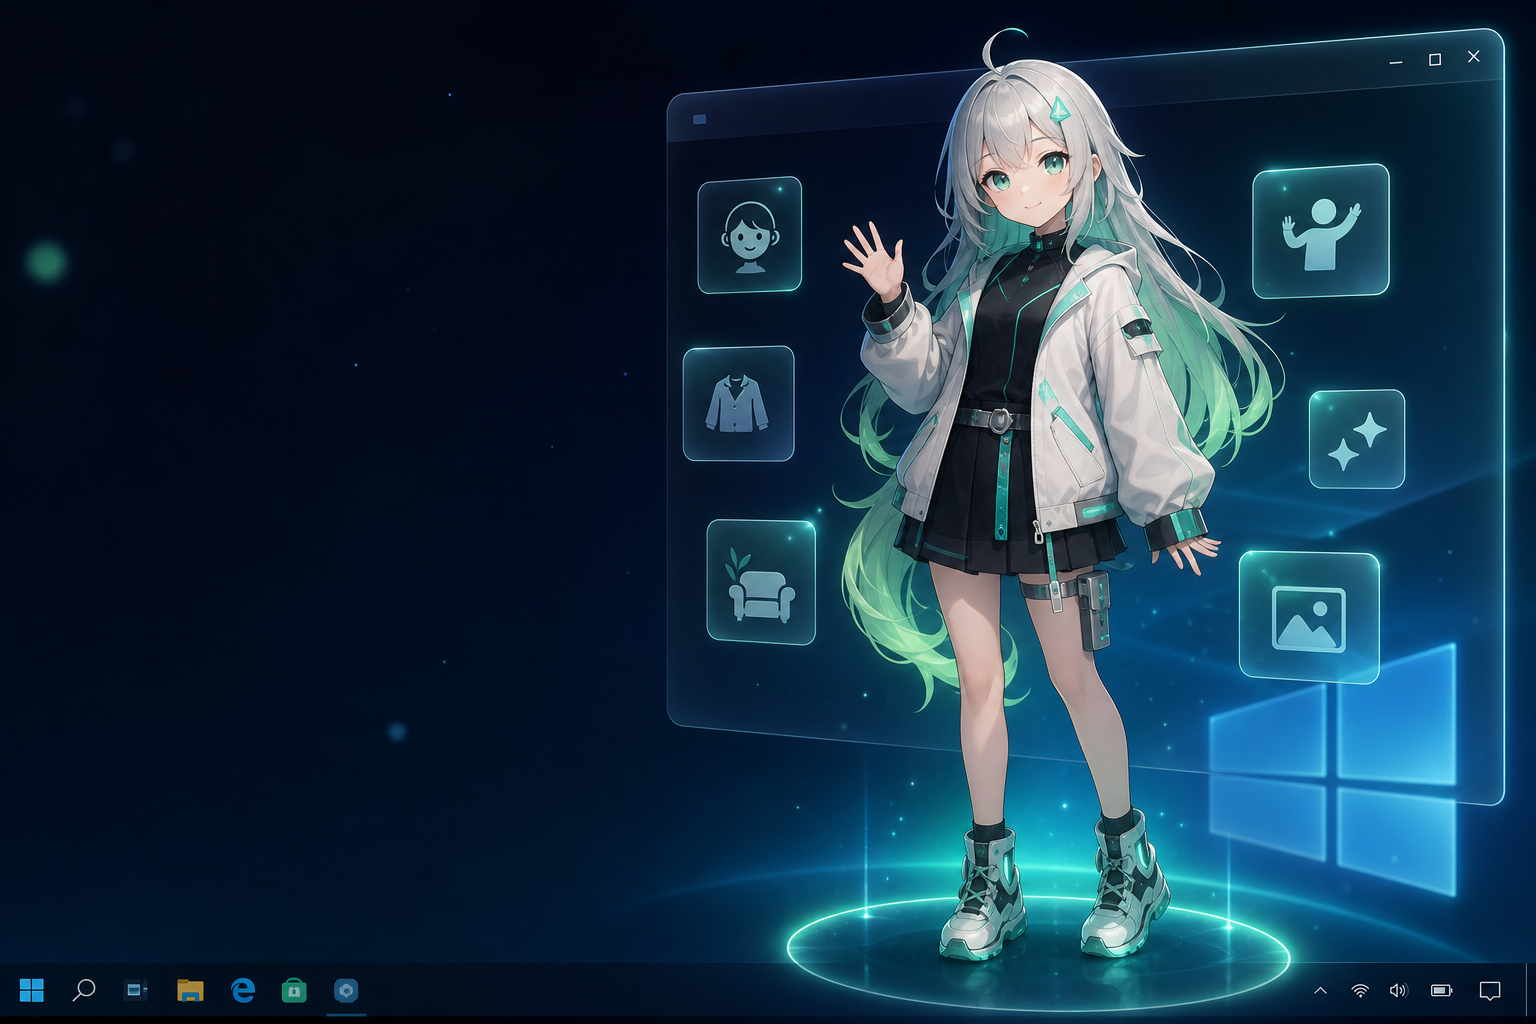
What to try first
The first goal is simple: confirm that AniMate feels good on your Windows desktop. Use a built-in character, place it near a window or the taskbar, and test whether it stays visible without getting in the way.
- Desktop presence: adjust size and placement until the character feels natural.
- Mouse interaction: test cursor tracking, simple reactions, and dragging.
- Music reactivity: play music and check whether the movement level fits your desktop.
- Workshop settings: browse the areas that later hold avatars, motions, dances, and stages.
When to import your own VRM
Importing a custom avatar makes sense after the basic companion experience already feels useful. If the built-in character placement, interaction, and motion style work for you, then a personal VRM avatar becomes much more meaningful.
- Find or export a compatible `.vrm` file.
- Check the model source and usage terms.
- Import the model into AniMate.
- Adjust size, position, and motion settings.
- Try motions, dances, and stages in Workshop.
Recommended next step
If you already have a VRM file, go straight to the import guide. If you do not have one yet, start with the model-source guide and avoid downloading files from unclear reupload sites.
Try AniMate before preparing custom assets
Start free with built-in characters, then unlock custom imports when you are ready to build your own library.
Related reading
- Free chat model (LLM) API credits
- Free speech-to-text (ASR/STT) API credits
- Free text-to-speech (TTS) API credits
- Where to find VRM models
- How to import a VRM model into AniMate
- How to make your desktop character dance
- Build your personal avatar and performance library
- How to use a desktop pet
- How to make an anime character desktop pet
- Best desktop pet software for Windows
- Make VRM models with AI and Codex